


Providing Exceptional Service & Value to our Partners Since 1967

Laminate Installation

Understanding the basics of installation will increase your knowledge of the process, and enhance your confidence in the installers.
- Use a professional
- Installed using a "floating floor system"
- Padded underlayment sits between the subfloor and the planks or tiles
- Planks or tiles sit on the underlayment, not anchored to the subfloor, and are connected to form a "one-piece" floating floor
- Installation can produce a hollow sound, reduced with a quality underlayment
- Floor will have a slight give underfoot, for more comfort
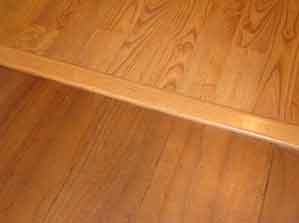
- Slight ridging or peaking where planks or tiles are joined can occur
- Glueless installations lock together without adhesive
- Consult the manufacturer’s warranty and care guide to see how often to clean the floor and the cost
Potential additional expenses:
- Furniture removal/replacement
- Demolition/disposal of old floor covering
- Sub-floor preparation
- Product delivery
- Laminate installation, cost per square foot
- Materials required to complete
Process
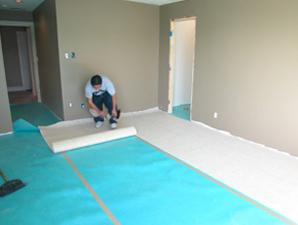
- Installer inspects the subfloor for imperfections
- Floor is then cleaned
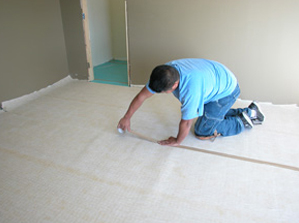
- Underlayment placed over the subfloor
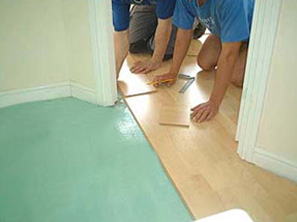
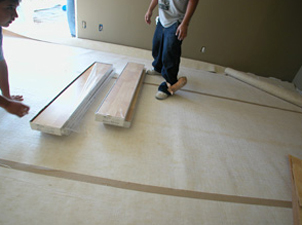
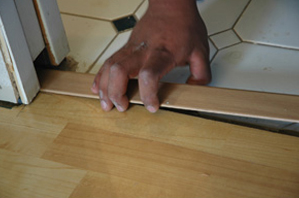
- Planks are laid
- Installers begin in the left corner leaving a minimum ¼" space between the flooring and perimeter walls
- Spacers are used to ensure the accuracy of this perimeter
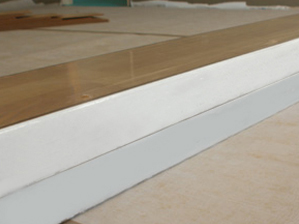
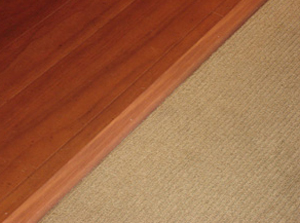
- After the floor is installed, spacers are removed and cover the perimeter gap with quarter round trim or a wall base
- Planks are laid in the desired pattern
- Planks are measured and cut to fit
- Floors that require glue on the sides begin by gluing the first two planks in the first row together
- Clamps or straps to hold pieces together
Before installation day
- Relocate furniture
- Empty china cabinets and closets
- Consider removal and disposal of old floorcovering
- Remove it yourself and leave 1 day before install
- For carpet, leave tack strips and pull out staples
Trim
- Moldings and baseboards removed for additional costs
- Installers not responsible for breakage
- Painted baseboards, woodwork and paint may need retouching (your responsibility)
Subflooring
- May need to be prepared
- New subfloor may be required
- A job best left to the professionals
Door plan
- A possibility that doors may not clear the new floor and swing free
- Installers may remove doors and rehang for an additional cost.
- For clearance issues, arrange for a qualified carpenter to shave or cut down
Clean-up
- Waste will be produced
- Waste collected and disposed of by installers at an additional cost
Installation day
- Be home and available
- Be prepared for questions
- Presence ensures the right wood is installed in the right areas
- Exact time of arrival cannot be guaranteed, only a time frame
Safety
- Installers use tools and techniques that can be hazardous
- Make sure that children and pets are out of the work area
- Follow through with a walk through
- Prior to completion- walk through to ask questions and be clear on any final details
After installation day
- Establish good ventilation for 48 to 72 hours
- Be prepared